

How It Works
Our engine processes your inputs using verified datasets and logic models to provide real-time results.
Efficiency Tips
Ensure data accuracy for the most reliable interpretation.
Compare results across different scenarios to find the optimal path.
Did you know?
Using standardized tools reduces manual error by up to 95% in complex calculations.
Related Expert Tools
More precision tools in the same niche.
Dendrochronology Alignment Calculator
The Dendrochronology Alignment Calculator works out the Gleichlaufigkeit (percentage of parallel variation) and Baillie-Pilcher t-value between two standardized ring-width index series at a candidate overlap position. Its best-fit offset search mode slides a floating sample across a longer master chronology and ranks every tested position by statistical strength, flagging an ambiguous match when two offsets score closely together.
Obsidian Hydration Dating Calculator
The Obsidian Hydration Dating Calculator converts a measured hydration rim thickness and a source-specific rate constant into an estimated age using the standard quadratic diffusion relationship. Its calibration mode works the same relationship in reverse, deriving a local rate constant from a rim measured on obsidian associated with an independently dated context, the real method used to establish rate constants for a given obsidian source.
Pollen Count Percentage Calculator
The Pollen Count Percentage Calculator works out each taxon's percentage of the pollen sum, following the standard convention of excluding aquatic taxa, sedges, and spores from the sum itself. It also calculates the arboreal-to-non-arboreal (AP:NAP) ratio used to gauge forest cover and land clearance, plus a 95% confidence interval for a reported percentage based on total count size.
Soil Layer Depth Calculator Logic
Why "47 cmbd" Alone Is a Problem Waiting to Happen
A depth written down without stating which datum it is relative to is the mistake I see most often in the field. As the ISU Field Excavation Manual puts it plainly, a numeric depth is ambiguous without its reference datum stated alongside it, and a figure like "47 cmbd" on its own becomes a real problem the moment a site has more than one datum in use. Reconciling it after the season ends, once the crew has moved on and the string lines are gone, can turn into real detective work. Always write the datum identifier next to every depth figure, not just once at the top of the form. This shows up most often on multi-unit sites where several unit datums feed into one site datum, exactly the setup the elevation mode below is built to reconcile before it becomes a problem.
What the Soil Layer Depth Calculator Actually Does
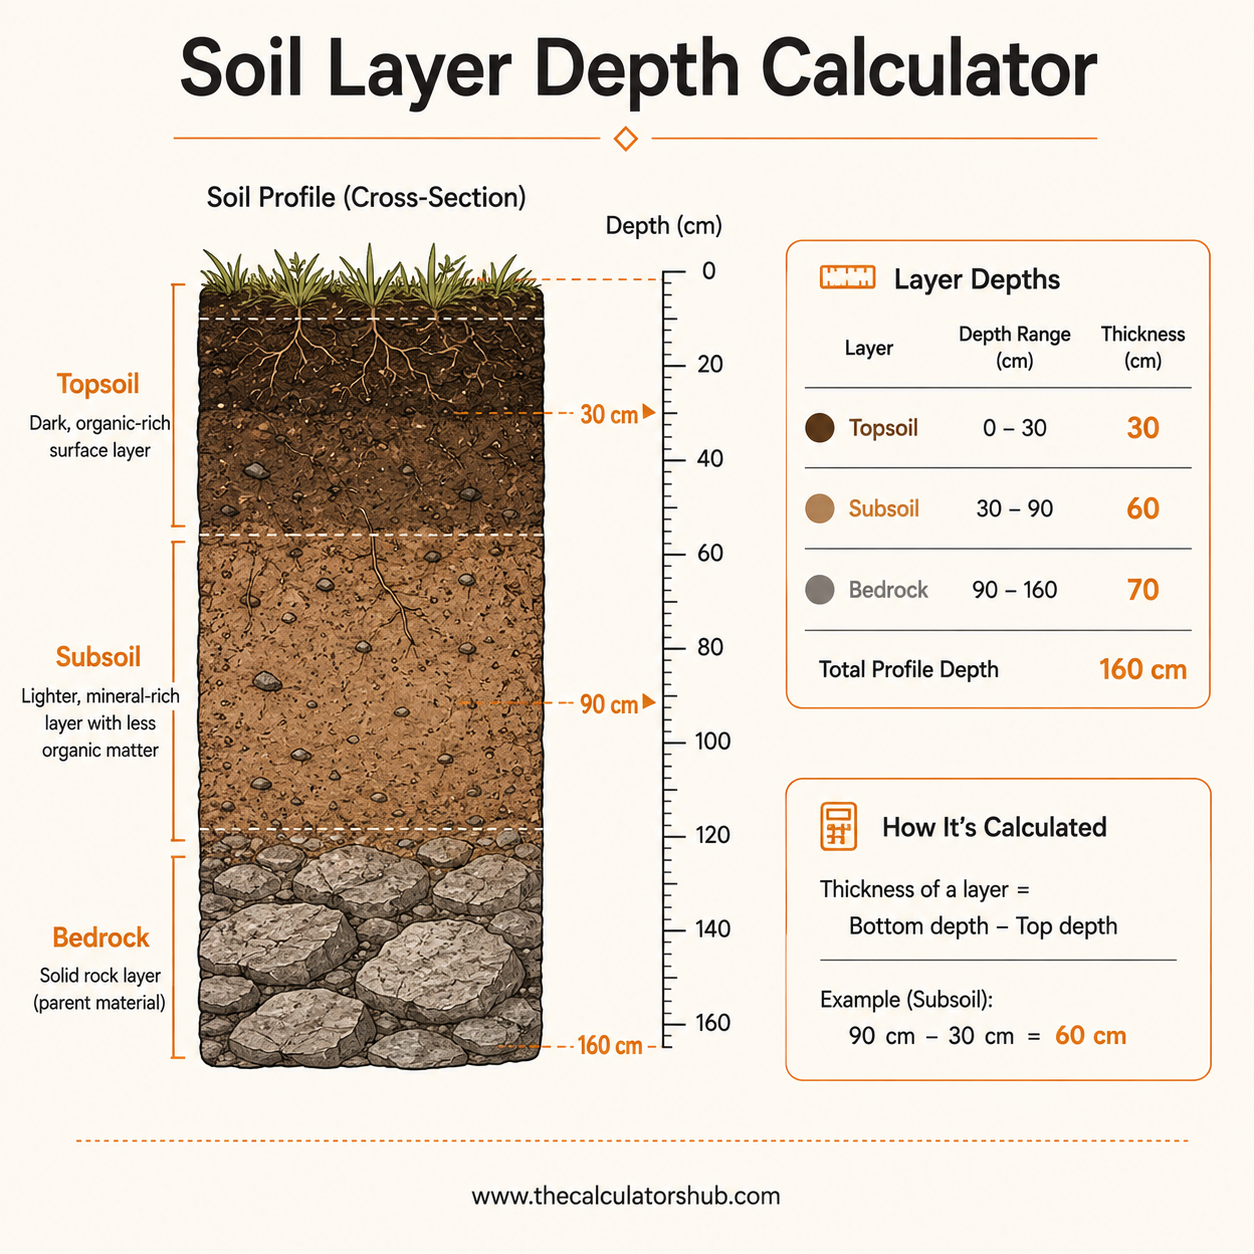
This tool works out two things field archaeologists record on nearly every excavation form: a point's absolute elevation from a depth-below-datum (DBD) reading, and a stratum's average thickness and estimated volume from multiple corner measurements. According to the Idaho State University Field Excavation Manual, unit depths are conventionally recorded in centimeters below datum (cmbd) from a fixed string line, not the ground surface itself, since the surface shifts throughout excavation as trampling and digging disturb it. DBD-to-elevation mode converts a single field reading into a site-wide absolute figure; stratum thickness and volume mode works out a level's dimensions from several depth readings across an excavation unit's often uneven floor.
Converting Depth Below Datum to Absolute Elevation
A datum point is a fixed, unmoving reference with a known or assumed elevation, and every depth measurement is recorded as a vertical distance below it rather than below the shifting ground surface. Point elevation works out as Site Datum Elevation minus any Unit Datum Offset minus the DBD reading, all in a common unit. If a site datum sits at 142.35 m above sea level and a sherd is recorded at 47 cm DBD from that datum, its absolute elevation is 142.35 minus 0.47, or 141.88 m. Many excavations use a local unit datum, a string tied roughly 10 cm above the unit's ground surface for convenience, which the site mapper later ties back to the main site datum with a total station or level. Carry out that offset step whenever a unit datum is in use, since skipping it produces a depth internally consistent within the unit but incomparable to depths recorded against the true site datum in neighboring units.
Measuring Stratum Thickness Across an Uneven Floor
Excavation floors are rarely level, so a single top-to-bottom measurement at one spot can misrepresent a whole stratum. Pull top and bottom DBD readings at each corner instead, subtract for a per-corner thickness, then average across all points.
Corner | Top DBD | Bottom DBD | Thickness |
|---|---|---|---|
NW | 42 cm | 58 cm | 16 cm |
NE | 40 cm | 61 cm | 21 cm |
SW | 45 cm | 55 cm | 10 cm |
SE | 43 cm | 59 cm | 16 cm |
These four corners average to just over 15 cm with an 11 cm spread between thinnest and thickest, a wide spread itself useful information, since it can indicate the stratum slopes across the unit rather than sitting flat, which matters for reconstructing the original ground surface. Multiplying average thickness by floor area gives a rough removed-soil volume, useful for planning screening capacity or estimating how much of a level remains to excavate.
Arbitrary Levels vs Natural Stratigraphic Layers
Not every "level" dug corresponds to a real natural stratum. Where cultural layers are thick, poorly defined, or hard to read by eye, crews often dig arbitrary levels, commonly 10 cm spits, purely for vertical control, then correlate those spits back to natural strata during post-excavation analysis. Always record whether a given depth reading belongs to a natural stratum or an arbitrary spit, since the two carry different interpretive weight. Natural strata are read according to the law of superposition, in an undisturbed sequence, a lower layer was deposited before the layer above it, a principle set out by the Binghamton University Community Archaeology Program's guide to stratigraphy. Where a site has many interleaved or cut features, most projects build a full Harris matrix to record the relative sequence of every layer and cut, since depth alone cannot capture a stratigraphic relationship once pits or post-holes cut through earlier deposits. Once that sequence is settled, our BP to BCE/CE Converter can attach absolute dates to each phase in turn.
Accuracy and Limitations
The elevation and thickness arithmetic here is exact given accurate field measurements and a correctly surveyed datum, introducing no rounding beyond the input precision supplied. It cannot detect a mis-tied datum, a transposed digit in a field notebook, or a level dug straight through a natural stratigraphic boundary unnoticed at the time. The volume estimate assumes a reasonably planar stratum between measured corners, an approximation the Oxford Academic chapter on soil stratigraphy in archaeological research notes breaks down for strata with internal pits, slumping, or bioturbation, which need planning and exclusion separately rather than averaging into a single flat thickness. Check a specific project's recording manual before treating any of these figures as a final published measurement, since some site conventions round DBD to the nearest centimeter while others record to the millimeter, and that precision choice changes how meaningful a small thickness range between corners actually is.
Related Tools for Stratigraphic Analysis
Once depths and strata are sorted for a level, our Bayesian Age-Depth Model Calculator and Artifact Density Calculator both build on the same depth data for dating and density analysis.
Frequently Asked Questions

Muhammad Shahbaz Siddiqui
Founder, TheCalculatorsHub
How I used the Soil Layer Depth Calculator to catch a phantom stratigraphic step between two adjacent excavation units
A field school supervisor flagged something odd to me in the summer of 2013: a natural clay layer appeared to sit roughly 15 cm higher in one excavation unit than in the unit right next to it, an apparent step that didn't match the site's otherwise gently sloping natural topography. Both units had recorded consistent, carefully measured depth-below-datum readings for the top of the clay, so the crew initially assumed the step was a real archaeological feature, possibly a cut or terrace edge running between the two units.
Running each unit's datum information through the elevation conversion showed the actual problem: one unit had been excavated using its own local unit datum, a string tied about 10 cm above that unit's ground surface, and the offset tying that local datum back to the main site datum had never been applied when the depths were written up. Once the correct offset was subtracted, following the same recording convention described in the ISU Field Excavation Manual, the clay layer's absolute elevation in both units came out within 2 cm of each other, well inside the range expected from the site's real, gentle slope.
The supervisor was relieved the "step" wasn't a feature the crew had failed to record properly, but the underlying lesson stuck: every unit datum needs its offset back to the site datum confirmed and applied before comparing depths across units, not assumed to be zero by default. The field school updated its recording form to include a dedicated offset field next to every depth entry, specifically to stop the same gap from silently reappearing in a future season.